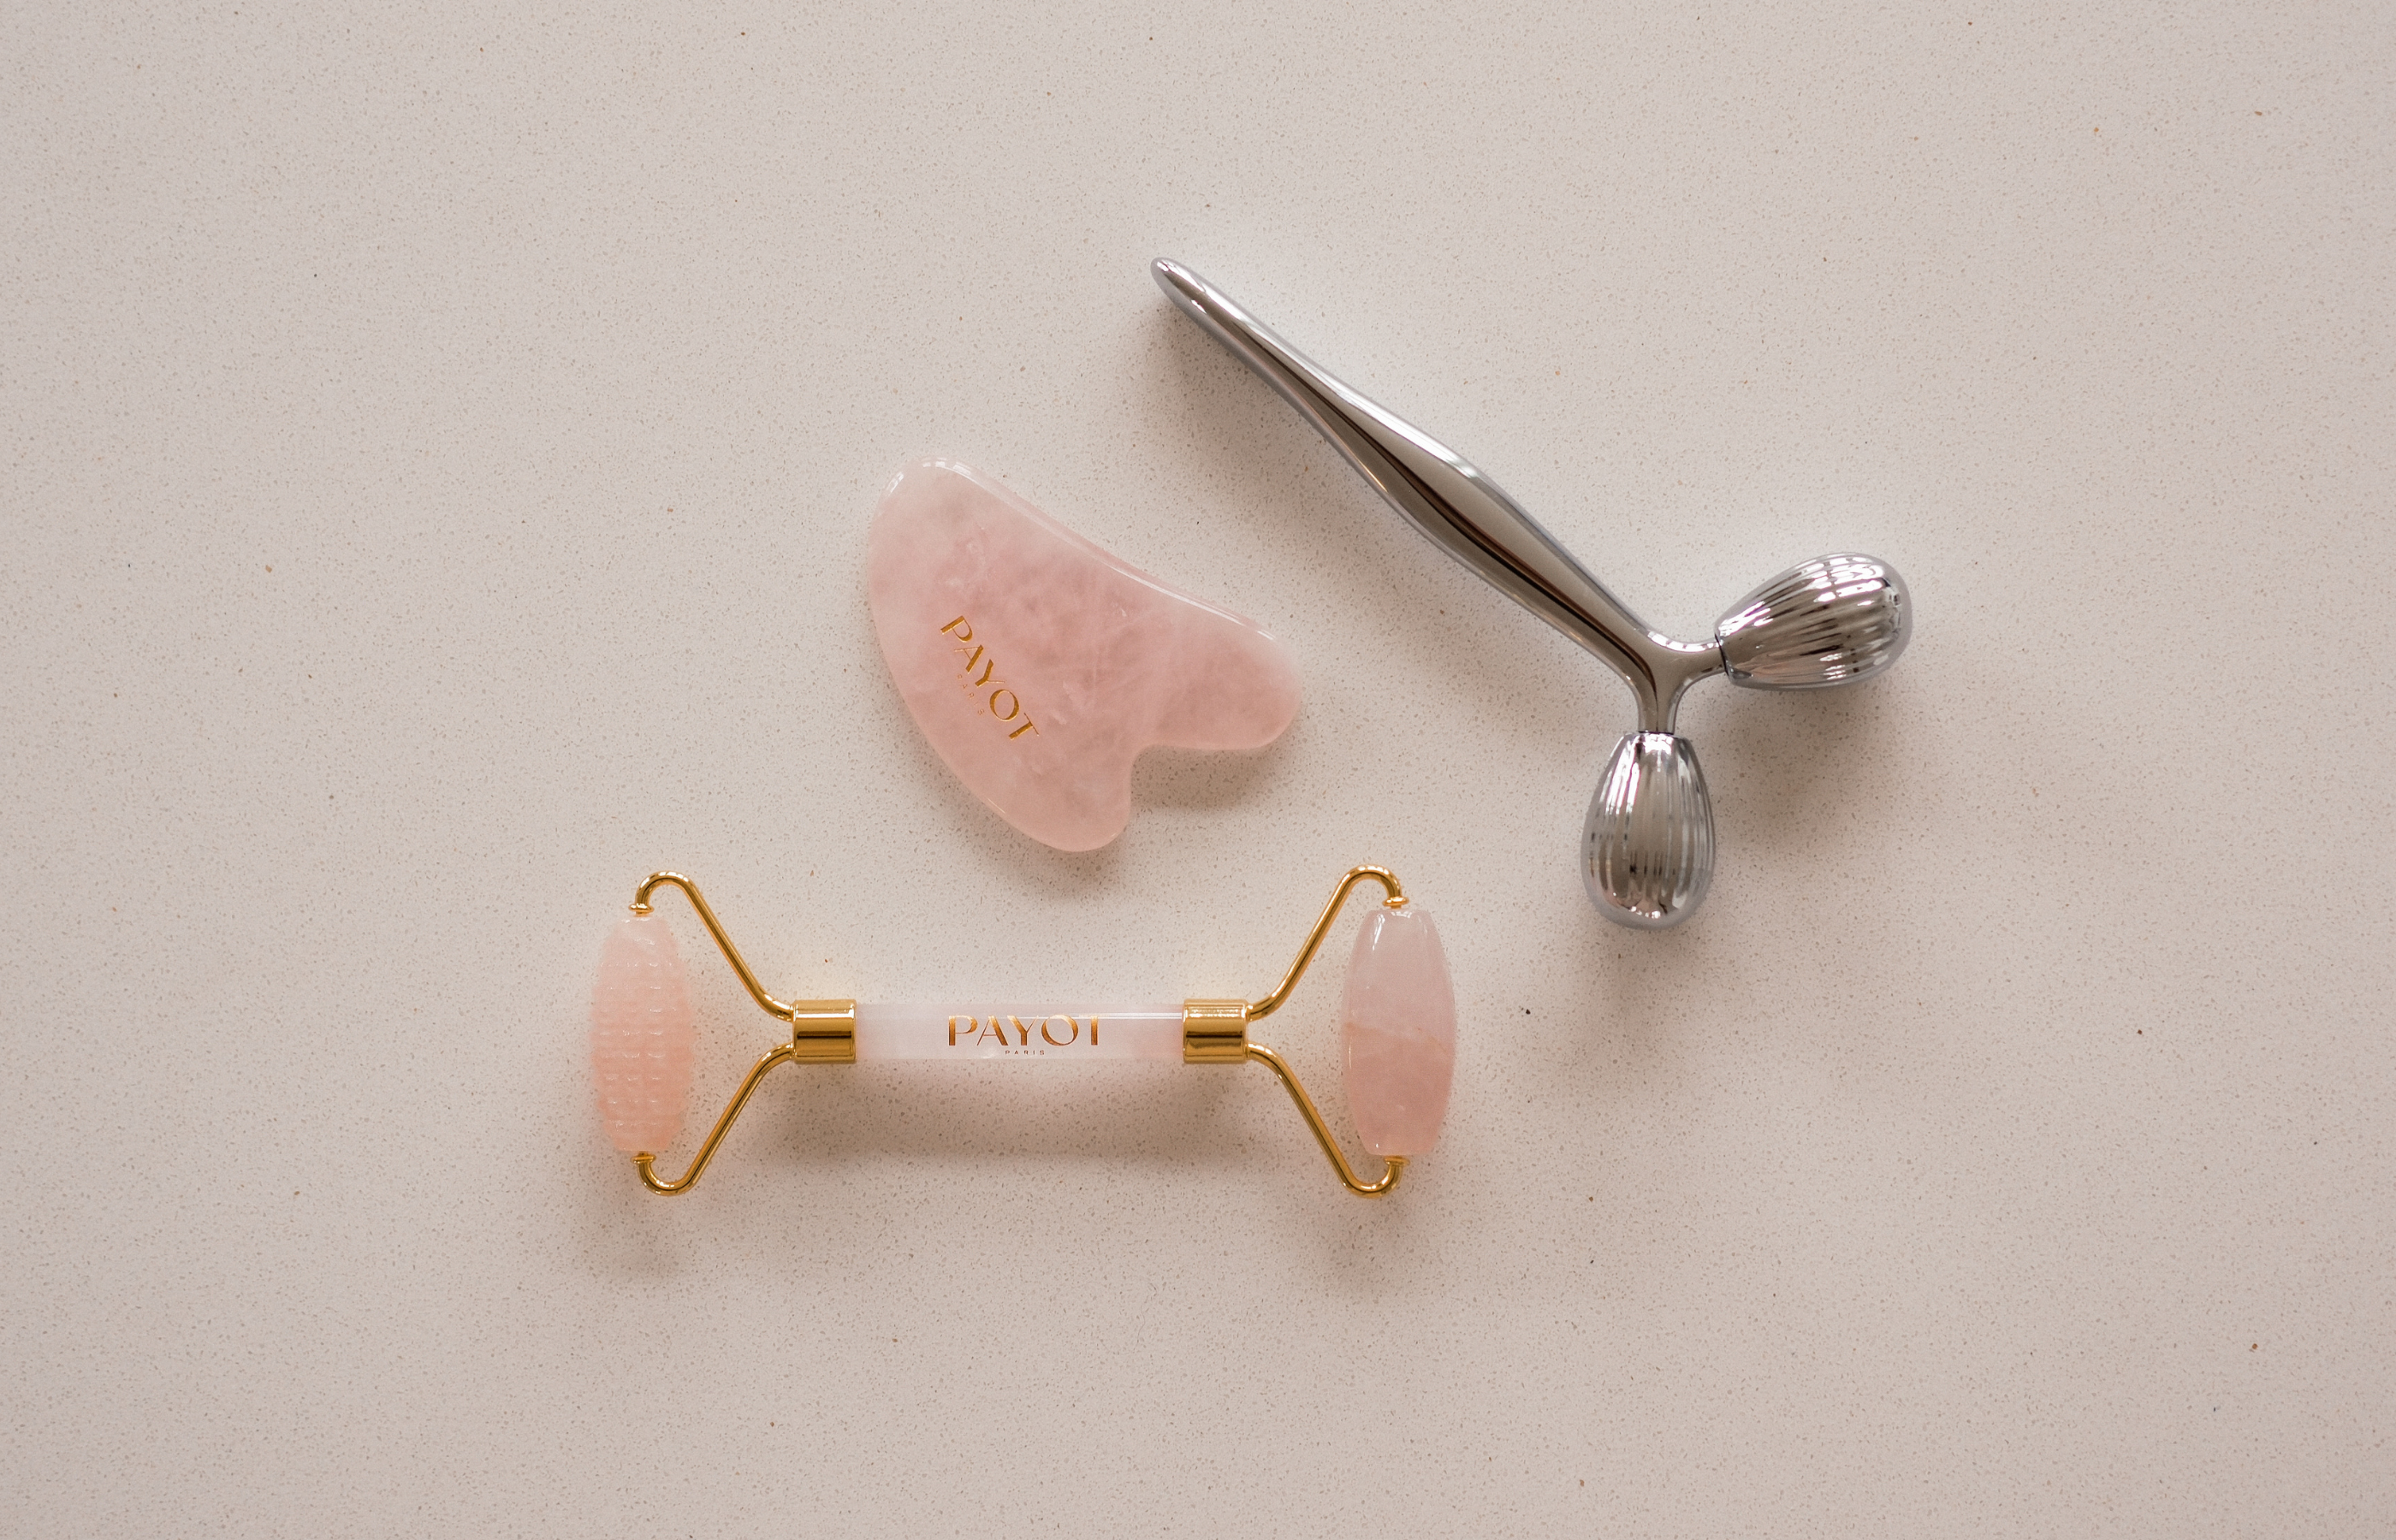
How to do it ?

A technique combining lifting, decongesting, and relaxing movements for visibly firmer skin and a more open gaze.

Can be performed on its own or after applying your skincare routine.

Ideal for all skin types, except for fragile or sagging skin.

Targeted gestures help redefine facial contours, lift, and decongest the eye area by mimicking the expert hands of a facialist.

in 3 steps

1. SCULPT & LIFTER

Place the roller in the middle of your chin, with the two spheres facing inwards, so that the oval of your face is placed between the spheres.

Gently roll the roller up along the lower jaw to under the right ear. X2

Place the roller next to the wings of the nose in order to grasp the cheekbone, the 2 spheres inwards, so as to place the cheekbone of your face between the spheres.

Gently roll the roller up along the cheekbone to the temple. X2

2. DECONGEST

Place the roller at the level of the interbrow area to grasp the brow bone, the 2 spheres facing inwards, so as to place the eyebrow between the spheres. Gently slide the roller along the brow bone to the temple. X2

3. RELAX

Place the roller under the right ear and let it descend vertically along the sternocleidomastoid muscle to relax it X2​.

THE ROLLER GESTURE

Immediate results
0%
Find that their features appear lifted*
0%
Find their skin firmer*
0%
Find their eyes tired*
*Usage test carried out on 68 people. % of people who perceived the effect after twice-daily use for 28 days.

expert advice

Which products should you pair it with?

To enhance the purifying movements of the Roller technique, choose treatments with fluid textures such as serums or oils to facilitate the gestures and ensure smooth gliding across the skin.

Our serums